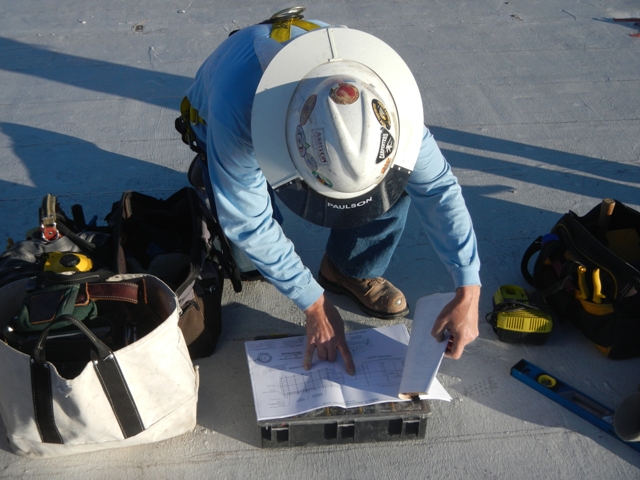
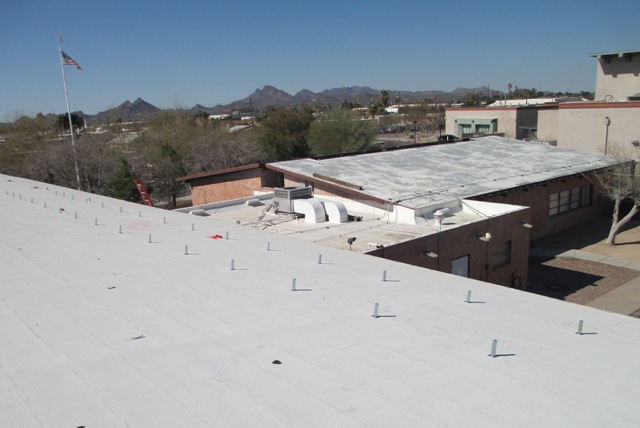
Last week the TFS solar technicians were up on the roof of St Monica’s Church, beginning to install their new solar electric system. St. Monica’s, which was the 2012 recipient of the TFS Solar Grant, is undergoing significant remodeling of the interior, exterior and roof of the building. We’ve been working with the primary architect on the project to help streamline the process of installing solar so that the install and roof renovation can be expedited. First, solar technicians, Karl and Jenner got up on the roof and measured where the system will be placed. The array will sit on the north side of the slightly pitched roof while still facing south in order to avoid some shading from nearby trees and telephone poles.
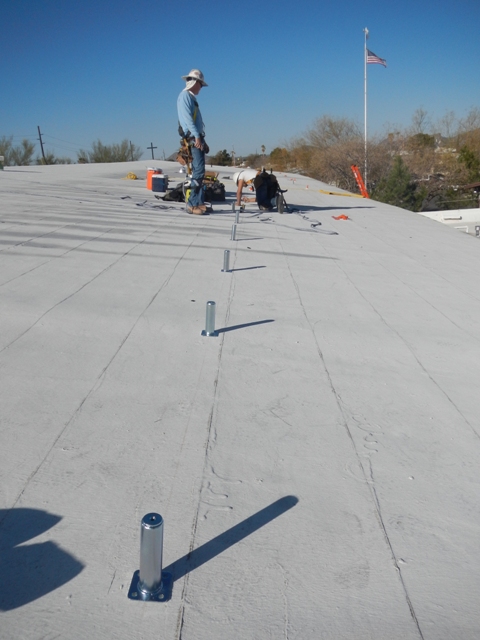
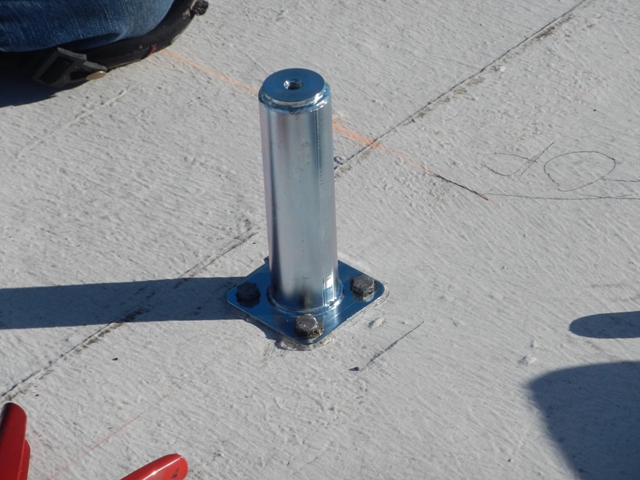
Next they installed the standoffs, which affix the solar to the roof. These standoffs, which are 7 inches tall, are screwed into the roof and then sealed. After the standoffs are installed, a roofing company will add a three inch foam sealant to roof (leaving 4 inches of standoffs rising above the foam) for insulation and roof protection.
System Facts: - System size: 5 kW - Monthly Production: 765 kWh - Panels: 20 LG 255 Watt Modules
In a couple of weeks , TFS technicians will return to St. Monica’s to finish installing the flashings (an added layer to protect against leaks) and build the frame the solar panels will rest on. We’ll keep you posted!
You can read more about St. Monica’s, our 2012 grant recipient at our first blog entry, here.


