Below is a photo journal of a culvert cistern installation completed by the TFS water harvesting crew. The full installation took place over two days, one week apart.
Day 1
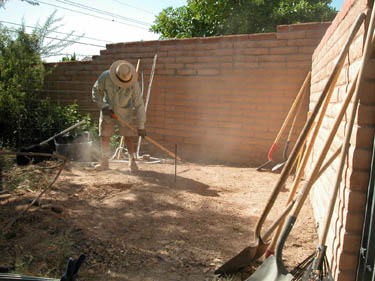 |
TFS crew arrives on site, marks out cistern location and levels ground. |
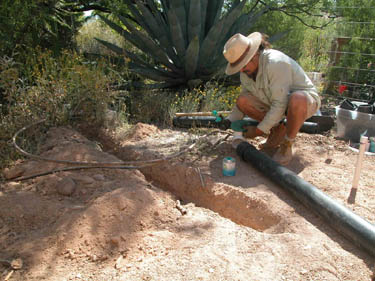 |
Underground plumbing is put together and buried in the pad. |
 |
Gutter and rainhead screens are installed on the roof edge to catch rainwater and filter leaves and other large debris. |
 |
First flush pipe and pipe to carry rainwater underground to cisterns are installed. The first flush pipe will catch the first few minutes of each rain storm, which is typically the dirtiest water, and divert it away from the cistern. Once the first flush is full, cleaner water bypasses the pipe and goes directly to the cistern. The inflow pipe is run underground in this system so that the cistern can sit in the far corner of the yard, away from the downspout. |
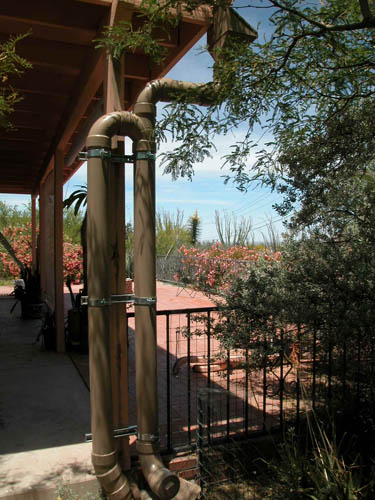 |
Finished mounted rainhead screen, first flush pipe, and inflow pipe. |
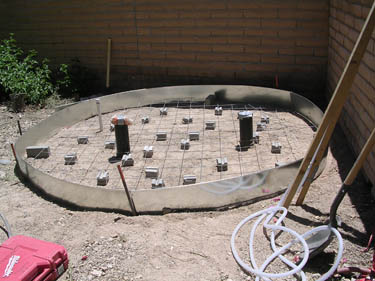 |
The form for the cistern pad is finished, with all underground plumbing, reinforcement for the concrete, and circular metal concrete form. TFS uses a circular metal form for cistern foundations, as this shape uses the least concrete. Metal forms are removed after the concrete cures, and are reused for the next job. |
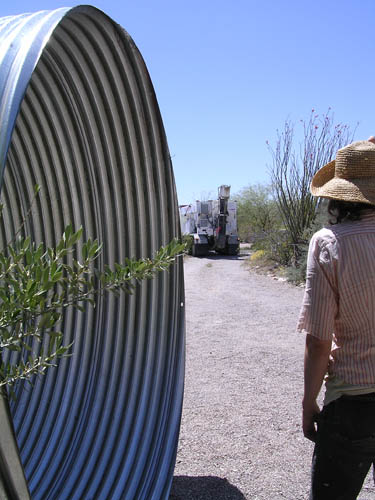 |
The concrete truck is on its way! |
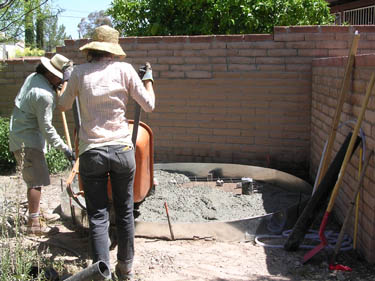 |
TFS crew wheelbarrows the mixed concrete into the form. |
 |
Concrete is tamped and smoothed. |
 |
Culvert is hooked up to crane for lifting over the backyard wall. |
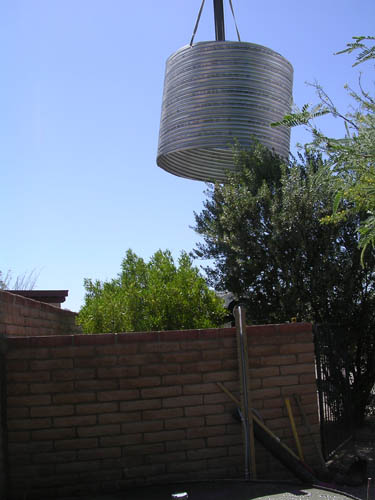 |
Culvert is crane-lifted over wall. When possible, culverts are lifted with manpower from the ground onto the concrete pad. In this situation however, a crane was the only option for lifting the culvert into the yard corner. |
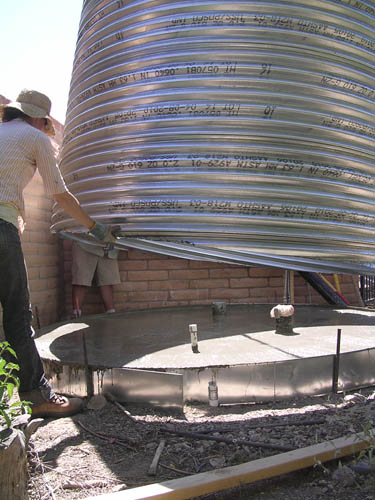 |
All crew members team up to center the culvert over the wet concrete. |
 |
The culvert is set! The concrete is troweled inside and out. |
Day 2
 |
The concrete is now cured. The inside floor of the cistern is cleaned, and sealed with a liquid rubber rated for potable water use. This creates a watertight, leakproof seal on the inside of the cistern. |
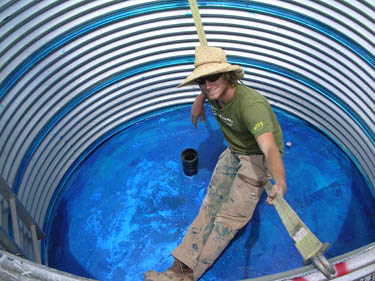 |
The finished sealed cistern floor. |
 |
The lid is lifted on. |
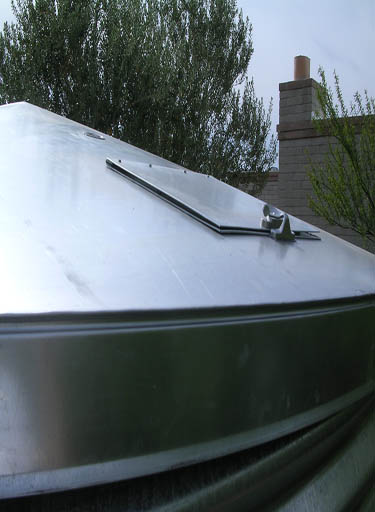 |
We use a pitched sheet metal lid with a foam gasket around the inside lip, built in observation door and vent on top. |
 |
The finished cistern. |